
Outdoor LED Screen Installation: Steps and Precautions
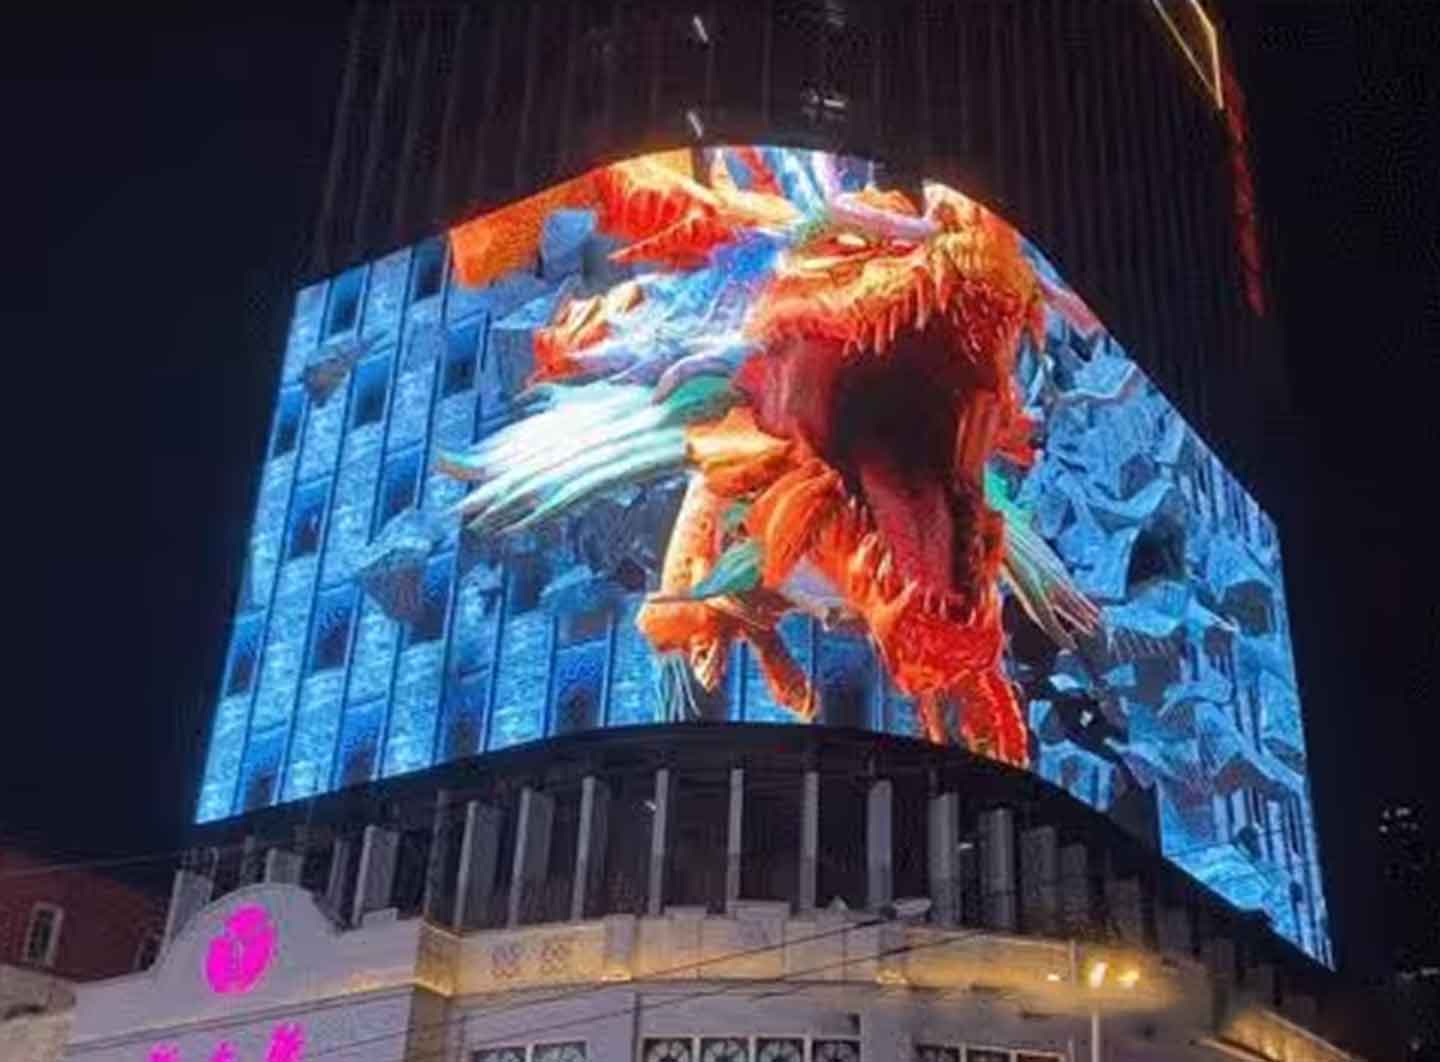
Outdoor LED displays have become the go-to solution for modern advertising and public information systems. Made from high-quality light-emitting diodes (LEDs), these screens deliver high brightness, wide viewing angles, and long service life, making them ideal for outdoor environments such as shopping centers, stadiums, and city squares.
In this guide, we’ll walk you through how to install an outdoor LED screen safely and effectively, along with the key precautions you need to take to ensure optimal performance and durability.
What Is an Outdoor LED Display?
An outdoor LED display is a type of electronic screen designed to operate in open environments. It’s built to withstand rain, sunlight, dust, and temperature changes while maintaining excellent image quality.
These displays are widely used for billboards, stage backgrounds, commercial advertising, and digital signage. As the technology evolves, customers now expect not only bright, vivid visuals but also secure installation and long-term reliability.
Step-by-Step Outdoor LED Screen Installation
Step 1: Build a Strong Support Structure
Outdoor LED screens are usually installed on elevated steel structures or building facades, rather than directly on the ground.
This support frame acts as the “home” of the LED display. It must be engineered to handle wind loads, vibration, and the screen’s weight over time. Always ensure the steel structure is securely anchored and meets local building codes.
Step 2: Install the LED Display Cabinets
The cabinet is the core of an LED screen — it houses the LED modules, power supplies, signal cables, and internal wiring.
During installation:
-
Align each cabinet precisely to maintain seamless visual appearance.
-
Tighten all fixing screws and connectors.
-
Make sure power and data cables are correctly linked according to the wiring diagram.
Proper cabinet alignment ensures uniform brightness and smooth video playback across the entire screen.
Step 3: Power Up and Test the Display
Once all cabinets are securely mounted, it’s time to power on and test the system.
Check for:
-
Module color consistency
-
Data signal stability
-
Temperature and power supply performance
Only after successful testing and debugging can the LED display be considered fully operational.
Step 4: Finish with Aesthetic Decoration
Even after the installation and testing are complete, finishing touches matter.
Cover any exposed steel frame or wiring with decorative panels or cladding to achieve a clean, professional look. A well-designed finish not only enhances appearance but also provides extra protection from dust and water.
Important Precautions for Outdoor LED Display Installation
To ensure your outdoor LED screen operates safely and lasts for years, keep these essential precautions in mind:
1. Lightning Protection
Outdoor LED screens are exposed to thunderstorms and high voltages.
Always install lightning protection devices to safeguard both the display and control system from electrical surges.
2. Waterproofing and Drainage
Rain is one of the biggest threats to outdoor displays.
Use IP65 or higher-rated waterproof modules, apply sealing glue, and ensure proper drainage holes to prevent water accumulation.
Good ventilation is equally important to reduce internal humidity and prevent corrosion.
3. High-Brightness LEDs for Sunlight Visibility
Because outdoor screens face direct sunlight, they require high-brightness LED modules (≥5500 nits).
This ensures the content remains clear and readable even under strong daylight.
4. Structural Stability
All brackets, beams, and joints must be structurally sound. Poorly welded or unstable frames can cause screen deformation or even collapse during strong winds or earthquakes.
It’s strongly recommended to have a professional structural engineer evaluate the installation design.
Final Thoughts
Installing an outdoor LED screen involves much more than mounting hardware — it’s about safety, precision, and long-term performance.
By following the proper steps, using weatherproof materials, and prioritizing electrical and structural protection, you can ensure your LED display delivers brilliant visuals and reliable operation for years to come.
 https://invisiadisplays.com/wp-content/uploads/2026/10/InVisia-circuit-protection.jpg
930
1261
administrator
https://invisiadisplays.com/wp-content/uploads/2026/09/logo.png
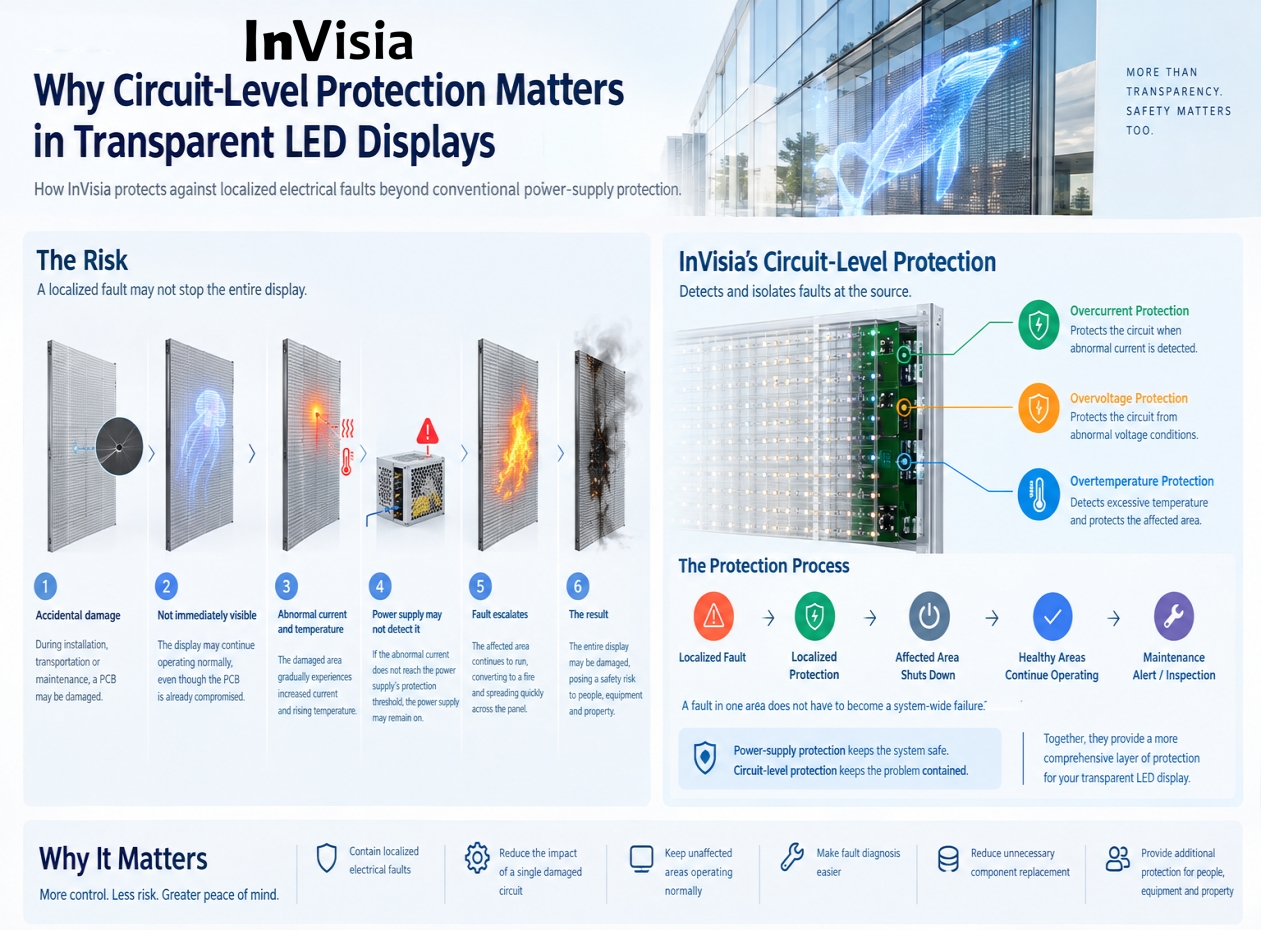
administrator2026-10-15 08:23:422026-10-16 07:20:20Why Circuit Protection Matters in Transparent LED Displays
https://invisiadisplays.com/wp-content/uploads/2026/10/InVisia-circuit-protection.jpg
930
1261
administrator
https://invisiadisplays.com/wp-content/uploads/2026/09/logo.png
administrator2026-10-15 08:23:422026-10-16 07:20:20Why Circuit Protection Matters in Transparent LED Displays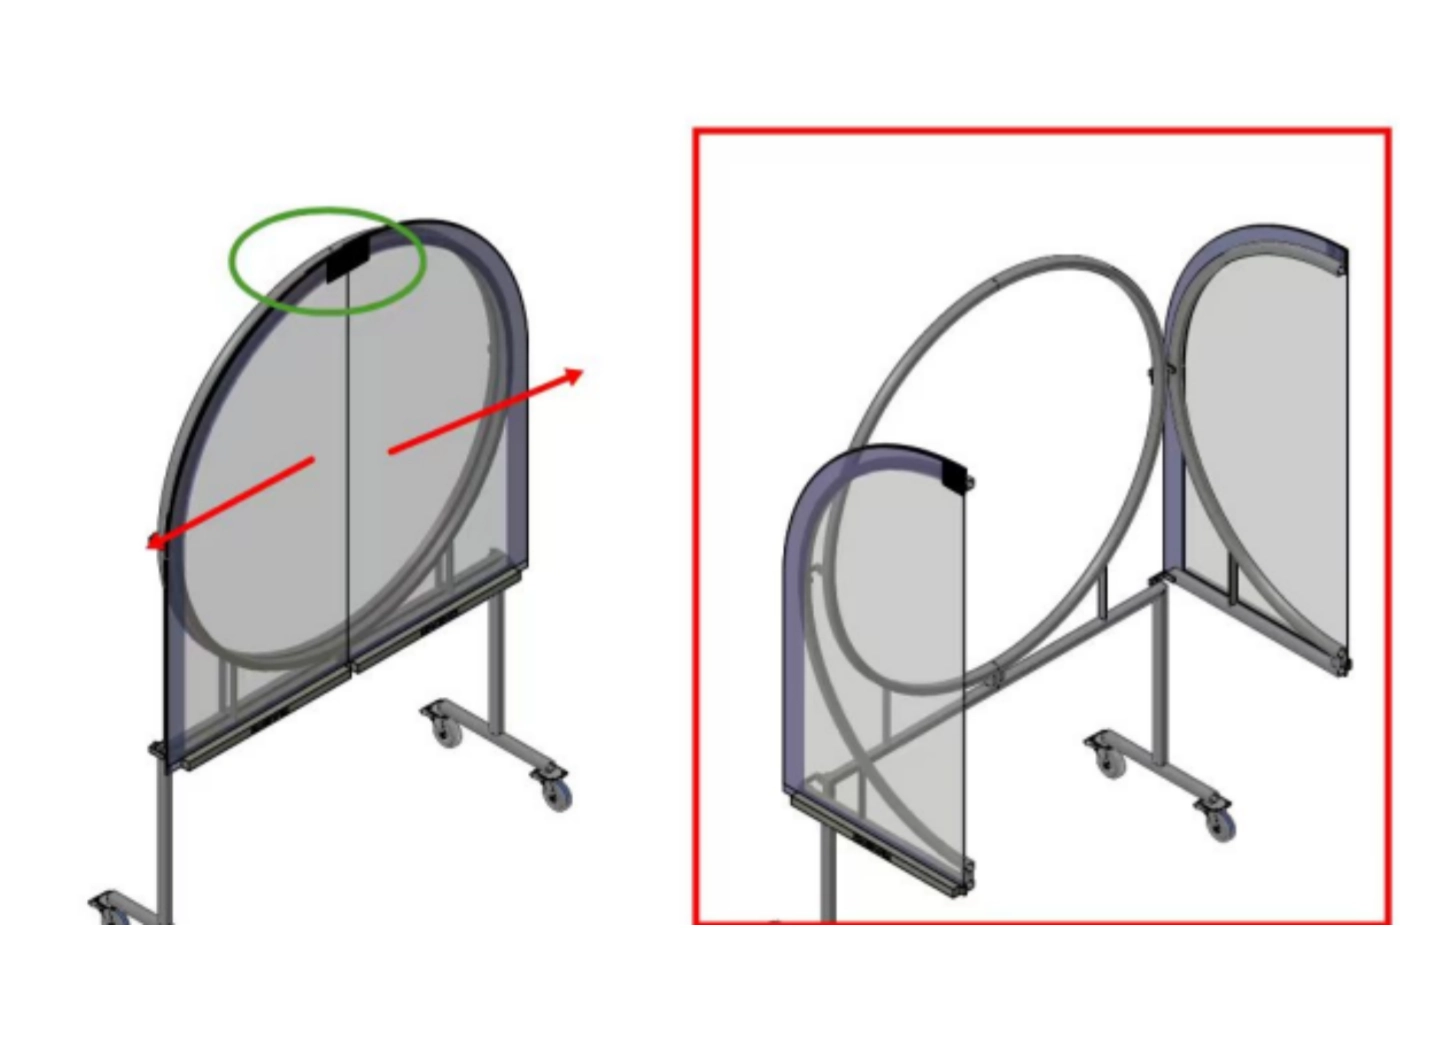 https://invisiadisplays.com/wp-content/uploads/2026/10/InVisia-Custom-Curved-transparent-LED-Door.webp
1062
1440
administrator
https://invisiadisplays.com/wp-content/uploads/2026/09/logo.png
administrator2026-10-14 09:25:202026-10-14 09:25:22Protected: Custom-Cut Curved Transparent LED Door
https://invisiadisplays.com/wp-content/uploads/2026/10/InVisia-Custom-Curved-transparent-LED-Door.webp
1062
1440
administrator
https://invisiadisplays.com/wp-content/uploads/2026/09/logo.png
administrator2026-10-14 09:25:202026-10-14 09:25:22Protected: Custom-Cut Curved Transparent LED Door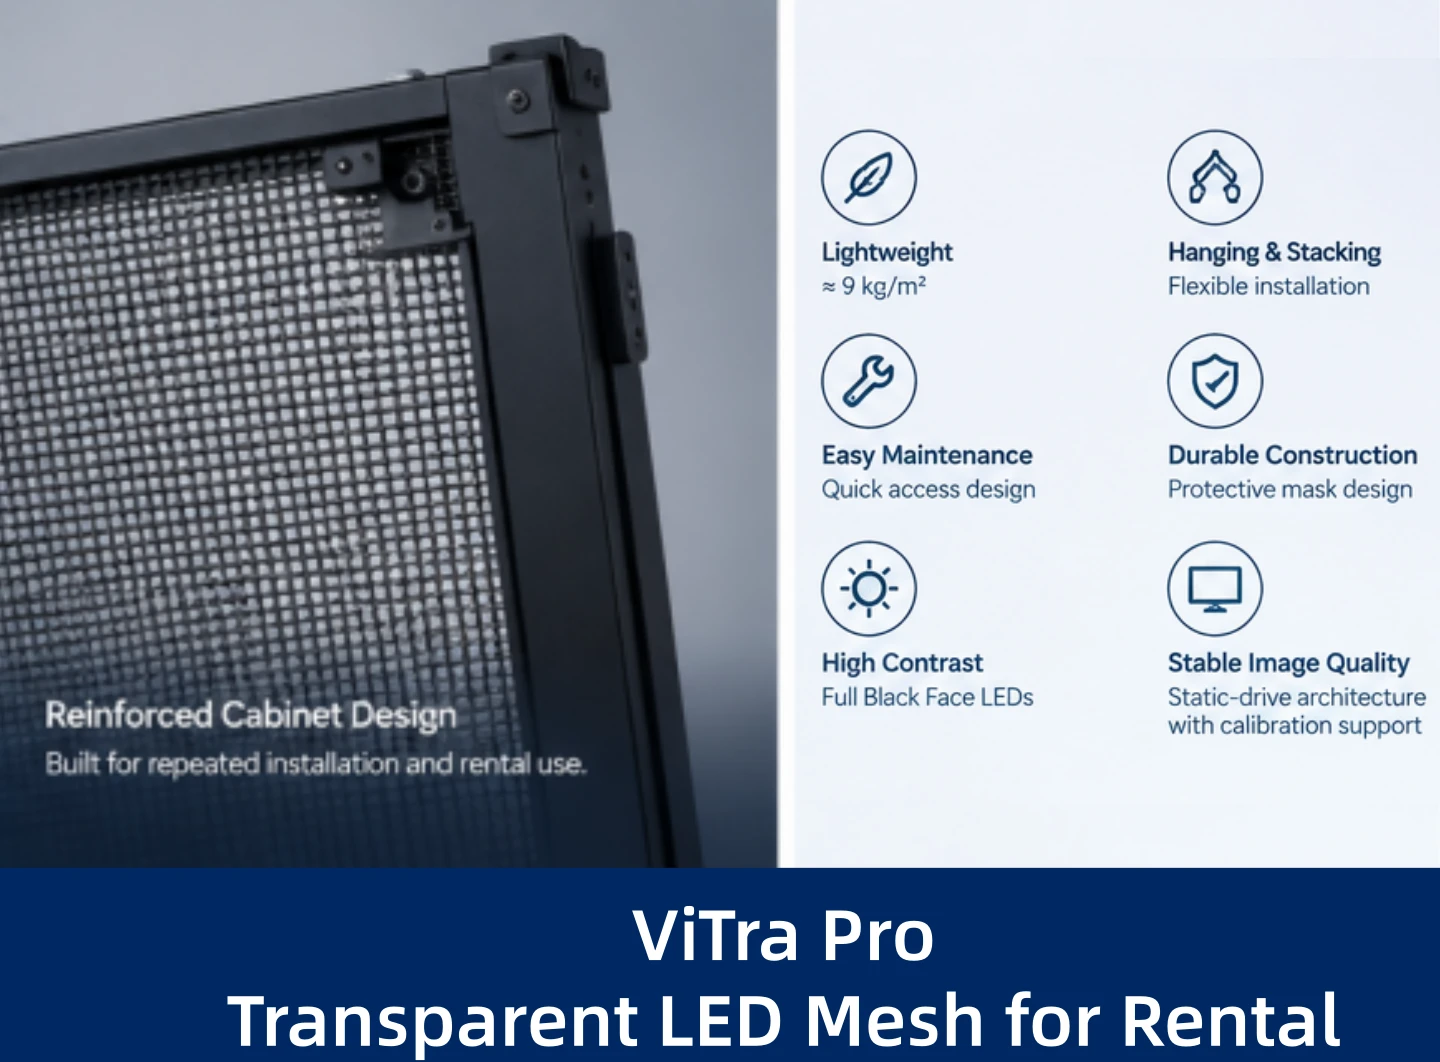 https://invisiadisplays.com/wp-content/uploads/2026/09/ViTra-Pro-transparent-LED-mesh-for-rental.webp
1062
1440
administrator
https://invisiadisplays.com/wp-content/uploads/2026/09/logo.png
administrator2026-10-05 15:00:232026-10-09 08:29:25Why Professional AV Companies Choose ViTra Pro for Rental
https://invisiadisplays.com/wp-content/uploads/2026/09/ViTra-Pro-transparent-LED-mesh-for-rental.webp
1062
1440
administrator
https://invisiadisplays.com/wp-content/uploads/2026/09/logo.png
administrator2026-10-05 15:00:232026-10-09 08:29:25Why Professional AV Companies Choose ViTra Pro for Rental https://invisiadisplays.com/wp-content/uploads/2026/09/Transparent-LED-Mesh-Suitable-for-Rental.webp
1062
1440
administrator
https://invisiadisplays.com/wp-content/uploads/2026/09/logo.png
administrator2026-09-28 10:48:012026-09-28 10:48:02Is Transparent LED Mesh Suitable for Rental?
https://invisiadisplays.com/wp-content/uploads/2026/09/Transparent-LED-Mesh-Suitable-for-Rental.webp
1062
1440
administrator
https://invisiadisplays.com/wp-content/uploads/2026/09/logo.png
administrator2026-09-28 10:48:012026-09-28 10:48:02Is Transparent LED Mesh Suitable for Rental? https://invisiadisplays.com/wp-content/uploads/2026/09/Celebrating-Mid-Autumn-Festival-with-InVisia.webp
1062
1440
administrator
https://invisiadisplays.com/wp-content/uploads/2026/09/logo.png
administrator2026-09-24 08:36:452026-09-24 08:36:48Celebrating Mid-Autumn Festival with InVisia
https://invisiadisplays.com/wp-content/uploads/2026/09/Celebrating-Mid-Autumn-Festival-with-InVisia.webp
1062
1440
administrator
https://invisiadisplays.com/wp-content/uploads/2026/09/logo.png
administrator2026-09-24 08:36:452026-09-24 08:36:48Celebrating Mid-Autumn Festival with InVisia https://invisiadisplays.com/wp-content/uploads/2026/08/Custom-Hanging-Holographic-LED-Displays-for-Retail-Windows.webp
1062
1440
administrator
https://invisiadisplays.com/wp-content/uploads/2026/09/logo.png
administrator2026-08-26 08:22:182026-08-26 08:22:20Custom OEM Transparent LED Display for Retail
https://invisiadisplays.com/wp-content/uploads/2026/08/Custom-Hanging-Holographic-LED-Displays-for-Retail-Windows.webp
1062
1440
administrator
https://invisiadisplays.com/wp-content/uploads/2026/09/logo.png
administrator2026-08-26 08:22:182026-08-26 08:22:20Custom OEM Transparent LED Display for Retail https://invisiadisplays.com/wp-content/uploads/2026/08/P10-Belgium-case.webp
1038
1407
administrator
https://invisiadisplays.com/wp-content/uploads/2026/09/logo.png
administrator2026-08-13 09:21:502026-08-31 06:57:11P10 6000-Nit Transparent LED Window Display in Belgium
https://invisiadisplays.com/wp-content/uploads/2026/08/P10-Belgium-case.webp
1038
1407
administrator
https://invisiadisplays.com/wp-content/uploads/2026/09/logo.png
administrator2026-08-13 09:21:502026-08-31 06:57:11P10 6000-Nit Transparent LED Window Display in Belgium https://invisiadisplays.com/wp-content/uploads/2026/07/What-defines-high-quality-LED-display-performance.webp
1062
1440
administrator
https://invisiadisplays.com/wp-content/uploads/2026/09/logo.png
administrator2026-07-30 03:42:302026-07-30 03:45:47What Defines High-Quality LED Display Performance?
https://invisiadisplays.com/wp-content/uploads/2026/07/What-defines-high-quality-LED-display-performance.webp
1062
1440
administrator
https://invisiadisplays.com/wp-content/uploads/2026/09/logo.png
administrator2026-07-30 03:42:302026-07-30 03:45:47What Defines High-Quality LED Display Performance? https://invisiadisplays.com/wp-content/uploads/2026/07/monoview-holographic-invisible-LED-banner.webp
1062
1440
administrator
https://invisiadisplays.com/wp-content/uploads/2026/09/logo.png
administrator2026-07-22 06:42:482026-07-22 06:42:49MonoView P3.9 Hanging Transparent LED Display for Retail
https://invisiadisplays.com/wp-content/uploads/2026/07/monoview-holographic-invisible-LED-banner.webp
1062
1440
administrator
https://invisiadisplays.com/wp-content/uploads/2026/09/logo.png
administrator2026-07-22 06:42:482026-07-22 06:42:49MonoView P3.9 Hanging Transparent LED Display for Retail
 5th Floor, Building 9, Hengchangrong High-Tech Industrial Park, Bao'an District, Shenzhen 518128, China


