How to Install a Holographic LED Display on Glass: Complete Guide
The Holographic LED Display is one of the most advanced transparent display technologies on the market today. With its ability to deliver floating 3D visuals and high transparency, it’s widely used in retail storefronts, showrooms, airports, and high-end commercial spaces. One of the most popular setups is glass-mounted installation, where the screen blends seamlessly with the building façade without blocking natural light. This guide will show you the step-by-step process for holographic LED display installation on glass and key tips to ensure long-lasting performance.
Why Choose Glass-Mounted Holographic LED Displays?
Many clients are already familiar with the fact that InVisia Displays’ holographic LED screens not only deliver a unique visual experience, but also support multiple installation methods to suit a wide range of scenarios. Whether it’s ceiling-mounted, floor-standing, or glass-mounted installation for storefronts, our displays are designed to adapt flexibly and blend seamlessly with their environment. Among these, glass mounting stands out for its transparent, aesthetic, and space-saving characteristics, making it a preferred choice for retail stores, showrooms, and high-end commercial spaces.
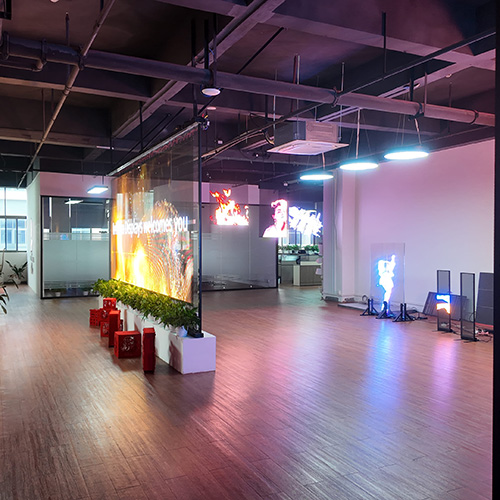
Compared with traditional display screens that are often bulky and visually intrusive, glass-mounted holographic displays are lighter, more transparent, and do not block natural light. This allows them to integrate smoothly with architectural structures while delivering a futuristic and visually appealing digital display.
But how exactly do you mount a display onto glass? Below is a step-by-step guide to help you install it correctly and efficiently.
Step-by-Step Holographic LED Display Installation on Glass
Step 1: Clean the glass surface thoroughly
Step 2: Apply structural adhesive or industrial-grade double-sided tape
Step 3: Carefully attach the LED panel onto the glass
Step 4: Use a level tool to ensure the panel is horizontally aligned with the ground
Step 5: Connect multiple LED panels to form a complete screen
Step 6: Connect essential components such as the HUB board, power supply, and control system
Step 7: Secure the structural components for reinforcement
A video reference is available below for further clarity
Quick Tip:
To ensure stable performance and optimal visual effect, we recommend that installation be carried out by trained and experienced professionals.
For InVisia Displays projects, we provide detailed installation diagrams, user manuals, and reference videos. Remote technical assistance can also be arranged upon request. More details if you want to know, contact us directly.

